Summer Pinwheels - A Tutorial
I am here today to share with you my first tutorial!
If you find this useful, please spread the word!
Read more about this quilt in my Bloggers Quilt Festival post.
---------------------------
All seams will be 1/4".
For the colored parts of the blocks we will be using 10" squares.
I used a Ten Square pack from Robert Kaufman which worked great because it contained 20 different designs, 2 of each, for a total of 40 - 10" squares.
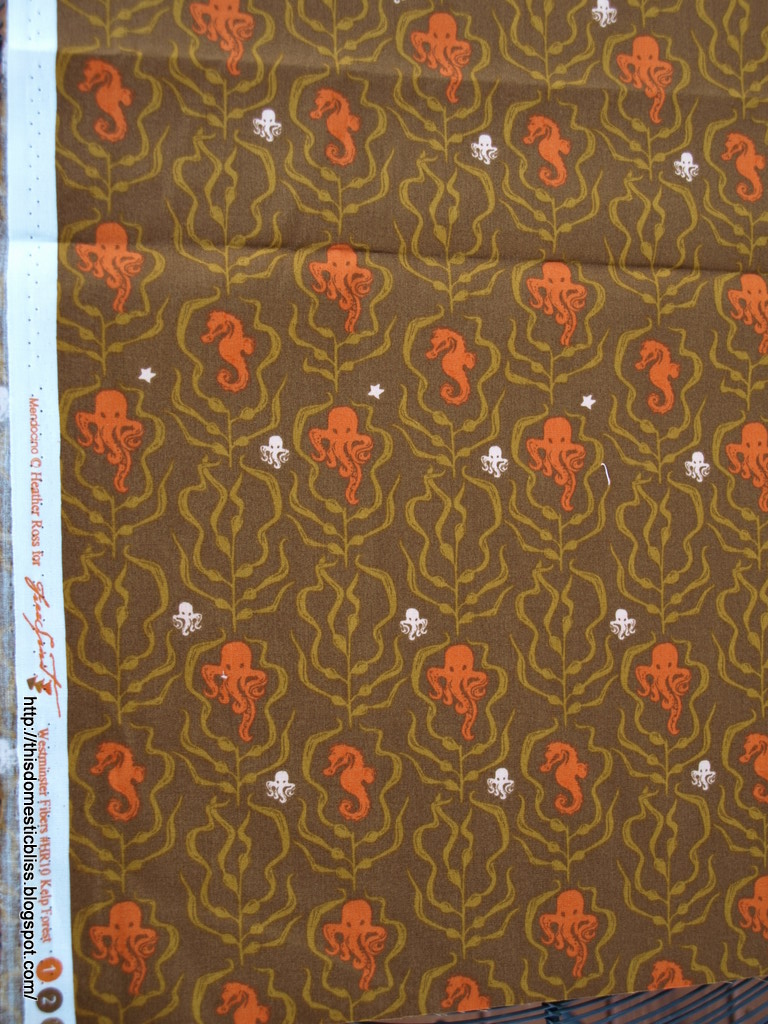
Fabric is:
(Fabric donated for the Glam Garden Gala challenge to the Triangle Modern Quilt Guild, Thanks Robert Kaufman!!!)
Depending on the Fabric line you may or may not have this many duplicates in your Ten Square.
To obtain the same look pictured here you will need two 10" squares of 18 different fabrics for a total of 36 - 10" squares.
You could also use 18 different fat quarters and cut two 10" squares out of each of those.
For the small pinwheels you will need 36 - 5" x 5" squares, (requires 3/4 yard of fabric).
(I chose Kona cotton in white, there are many options, think another solid color or a print for the small pinwheels and different colors of solids for the 10" squares).
If you choose to make this project without borders you will end up with about a 54" x 54" quilt before washing.
If you choose to add the same size borders as I did you will get a larger version at approximately 72" x 72".
If you look at the quilt you will see the center is made up of 9 large blocks each consisting of 4 smaller blocks.
We will learn how to make one of these large blocks, once all 9 are put together they will create additional pinwheels at the intersections.
------------------
First cut your 5" squares from your 3/4 yard of fabric (or you can use precut 5" squares).
Cut five - 5" WOF (width of fabric) strips, cut these strips into 5" squares, (you should be able to get at least 36 from regular (42" - 44" wide) quilting cotton).
Next choose 36 squares from your Ten Square pack or cut the 10" squares from your fat quarters.
Separate into 18 stacks each containing two 10" squares of the same fabric.
Now we need to decide which fabrics play well together.
Arrange the 18 different fabric stacks into pairs that have some contrast so that you now have 9 stacks.
Keep in mind not only color but the scale of the print, (example: I tried not to place 2 fabrics with a large scale print together.)
I chose to place a large scale print with a smaller scale print to obtain some contrast.
You should now have 9 stacks containing four 10" squares, 2 each of 2 different fabrics.
For each large block you will use one of these stacks plus four of your 5" squares.
We are now ready to start on our first large block!
Choose one of the colors from your stack to pair with your 5" squares.
Here I chose to pair my white 5" squares with my brown 10" squares.
You will use two of your 5" squares for each of your 10" squares chosen.
Place one of your chosen 10" squares right side up.
Take two 5" squares and place them right side down in opposite corners, fabrics will be right sides together.
Draw a line diagonally from one corner to the other of each of your 5" squares as shown in the above photo.
To get bonus half square triangle blocks draw another line 1/2" away from the first toward the outside of the block (yield: 36 bonus HST blocks).
Stitch on these lines.
Repeat with the other 10" fabric square of the same color and 2 more 5" squares.
Cut between the lines of stitching and press (I press open most of the time, do whatever makes you happy).
Now we have 2 sets like this of a 10" block and 2 bonus half-square triangle blocks.
Place the bonus blocks aside.
Place your 10" block and one of the other 10" squares of contrasting fabric from your stack right sides together.
Note: If you are using a directional print you might want to watch which direction the print is going when placing your fabrics together again when we repeat this step...
Draw a diagonal line from corner to corner making sure to bisect the white triangles.
Sew 1/4" away from the center line on each side.
Cut on center line, between the two seams you just sewed.
Open blocks and press.
Repeat for the other 10" block and the remaining 10" square.
You should now have four blocks.
They should each measure 9 & 1/2" x 9 & 1/2", square up at this point if needed.
Place your four blocks together and arrange to form a pinwheel in the center.
Sew the top two blocks together and then the bottom two blocks.
Sew the two rows together, pinning to match your points up to yield one large block.
Repeat this process with your remaining 8 stacks to create 8 more large blocks.
Arrange these 9 large blocks in a 3 x 3 grid, rearrange until you get the blocks into a pleasing color arrangement.
Sew together 3 rows of 3 large blocks each and then sew those 3 rows together.
Add borders if desired.
I cut my border strips 9 & 1/2" wide for a 9" finished border on each side.
Add batting and backing fabric and quilt and bind as desired.
I am currently adding some hand stitching in pearl cotton to my white border, will update pictures when finished :)
---------------
Use your bonus half-square triangle blocks as you choose.
I used some of mine to create the pinwheels you see in the corners of my quilt.
I also used some to make hour glass blocks for this charity block.
I hope you enjoyed this tutorial and thanks for stopping by!
If you make this quilt don't forget to add pictures to the
Flickr group so we can all see!
---------------
Giveaway has ended! Thanks everyone
Four fat quarters from the Glam Garden line!
As always thanks for being here :)
~ Lisa